LiDAR (Light Detection And Ranging) is a technology that essentially takes pictures using laser pulses instead of visible light. You’ve likely heard about LiDAR in the context of self-driving cars, since the returning laser pulses from a car mounted LiDAR system produce a point cloud telling the car about objects around it in three dimensional space. By using a LiDAR system mounted on an aircraft, the three dimensional information can be used to create topographic maps of the terrain below.
Bare earth elevation models are available on MapWarehouse in GeoTiff format. They are easy to use and highly accurate at +/- 10cm. Download the sample file and follow along with the video below to get started with LiDAR.
Related: LiDAR Provider Airborne Imaging Partners With FBS
The ZIP you downloaded contains four files.
- The two PDF files are license agreements for FBS (the reseller) and Airborne Imaging (the provider).
- The XML file is metadata which can be viewed in an internet browser.
- The TIF file is the geo-referenced LiDAR file covering a 500m x 500m section of Toronto.
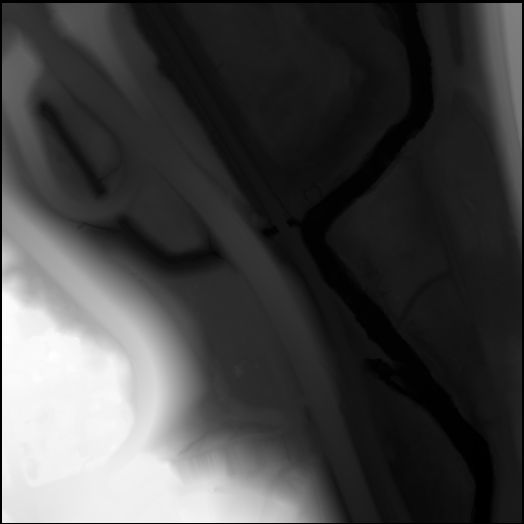
Each pixel in the TIF image holds an elevation value instead of a colour. Low points are black, high points are white. Open the TIF file in an image viewer and you’ll get a black square, or, something like this:
When you add this image into your CAD or GIS software, you can stretch the image by changing the range of values that the black-white colour ramp is applied to. Instead of showing the grey-scale range 0-255, you may start out with a range of 0-1, hence the black square.
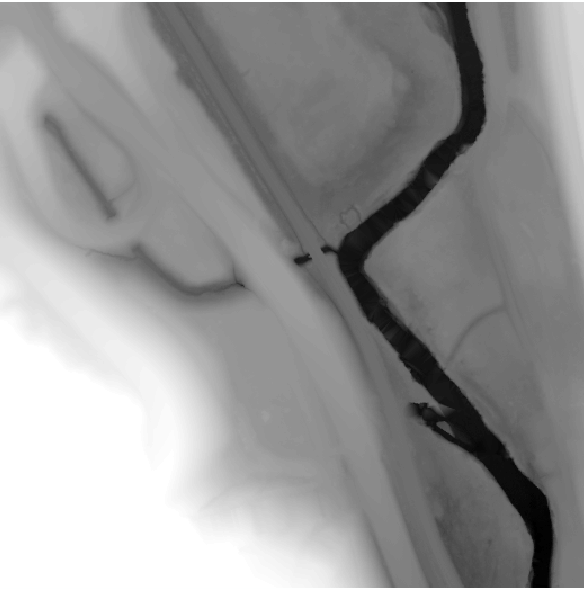
The sample file has an elevation range of 75m – 116.3m, so you can choose these values for the max and min values of the colour ramp and more details will pop out like this:
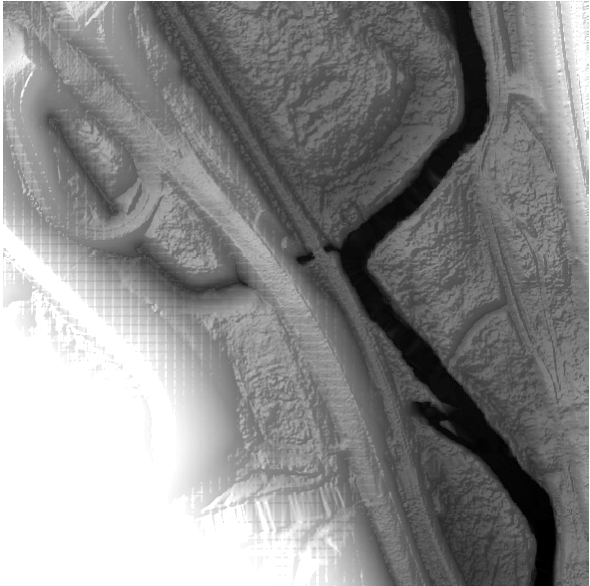
The Don River in black is the obvious low point. Now apply hill shading to sharpen the details and adjust the Z value to exaggerate the changes in elevation like this:
At this point, you’ve got a decent visual representation of the terrain that can be used alone or in combination with aerial imagery.
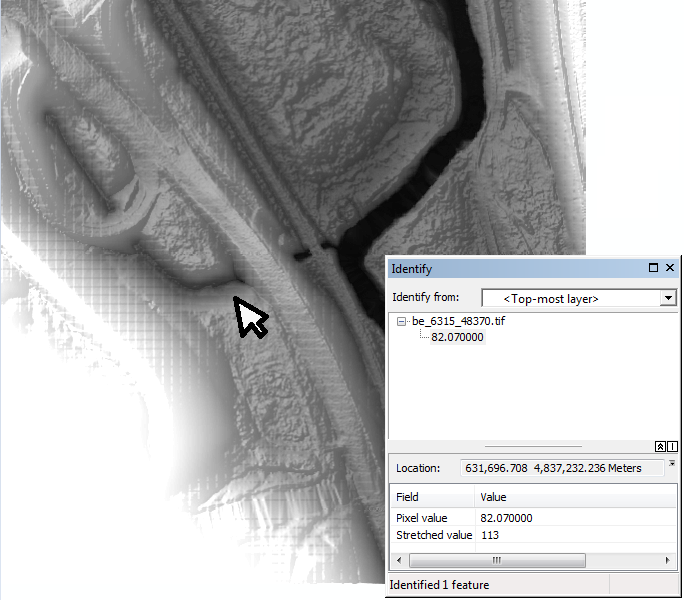
Each pixel in the image covers one square meter on the ground. If you query the pixels, you’ll see each individual pixel’s value in meters.
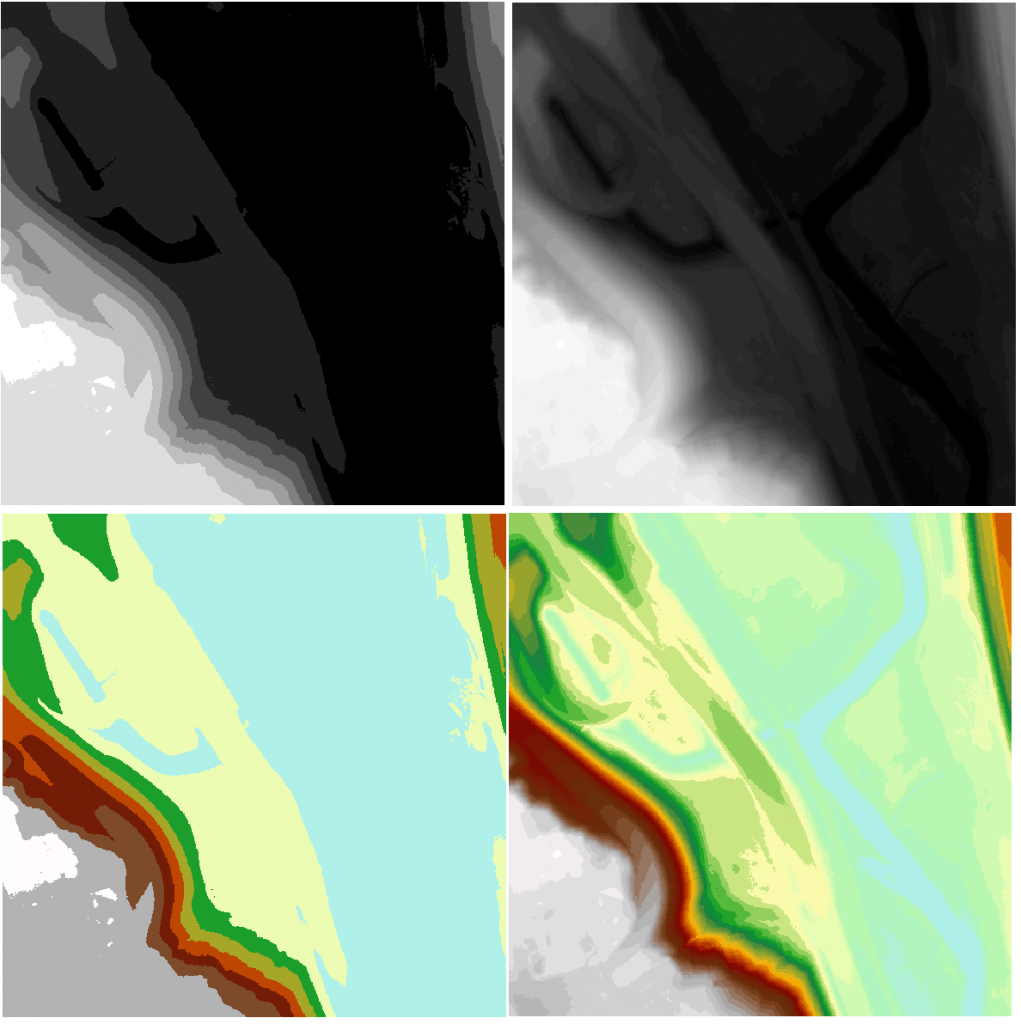
It’s also possible to visualize the changes in elevation using colour, and/or by grouping the elevation values into classes. Here’s how it looks in 5m classes and 1m classes with greyscale and elevation colour ramps applied:
No matter how you visualize the data, the underlying elevation values stored in the pixels will not change. The video below will show you more examples of how to visualize the data in ArcMap.
Where can I get LiDAR elevation mapping? MapWarehouse
Find your area of interest in the map based store and purchase digital mapping data and orthophoto, including LiDAR.

